OASIS® Iris Expander
OASIS® Iris Expander
Expand your view
The OASIS® Iris Expander is a surgical solution to gently expand insufficiently dilated pupils during ophthalmic surgery and sustain visibility throughout the procedure.
details
– 6.25mm or 7.0mm diameters available
– Molded polypropylene ring
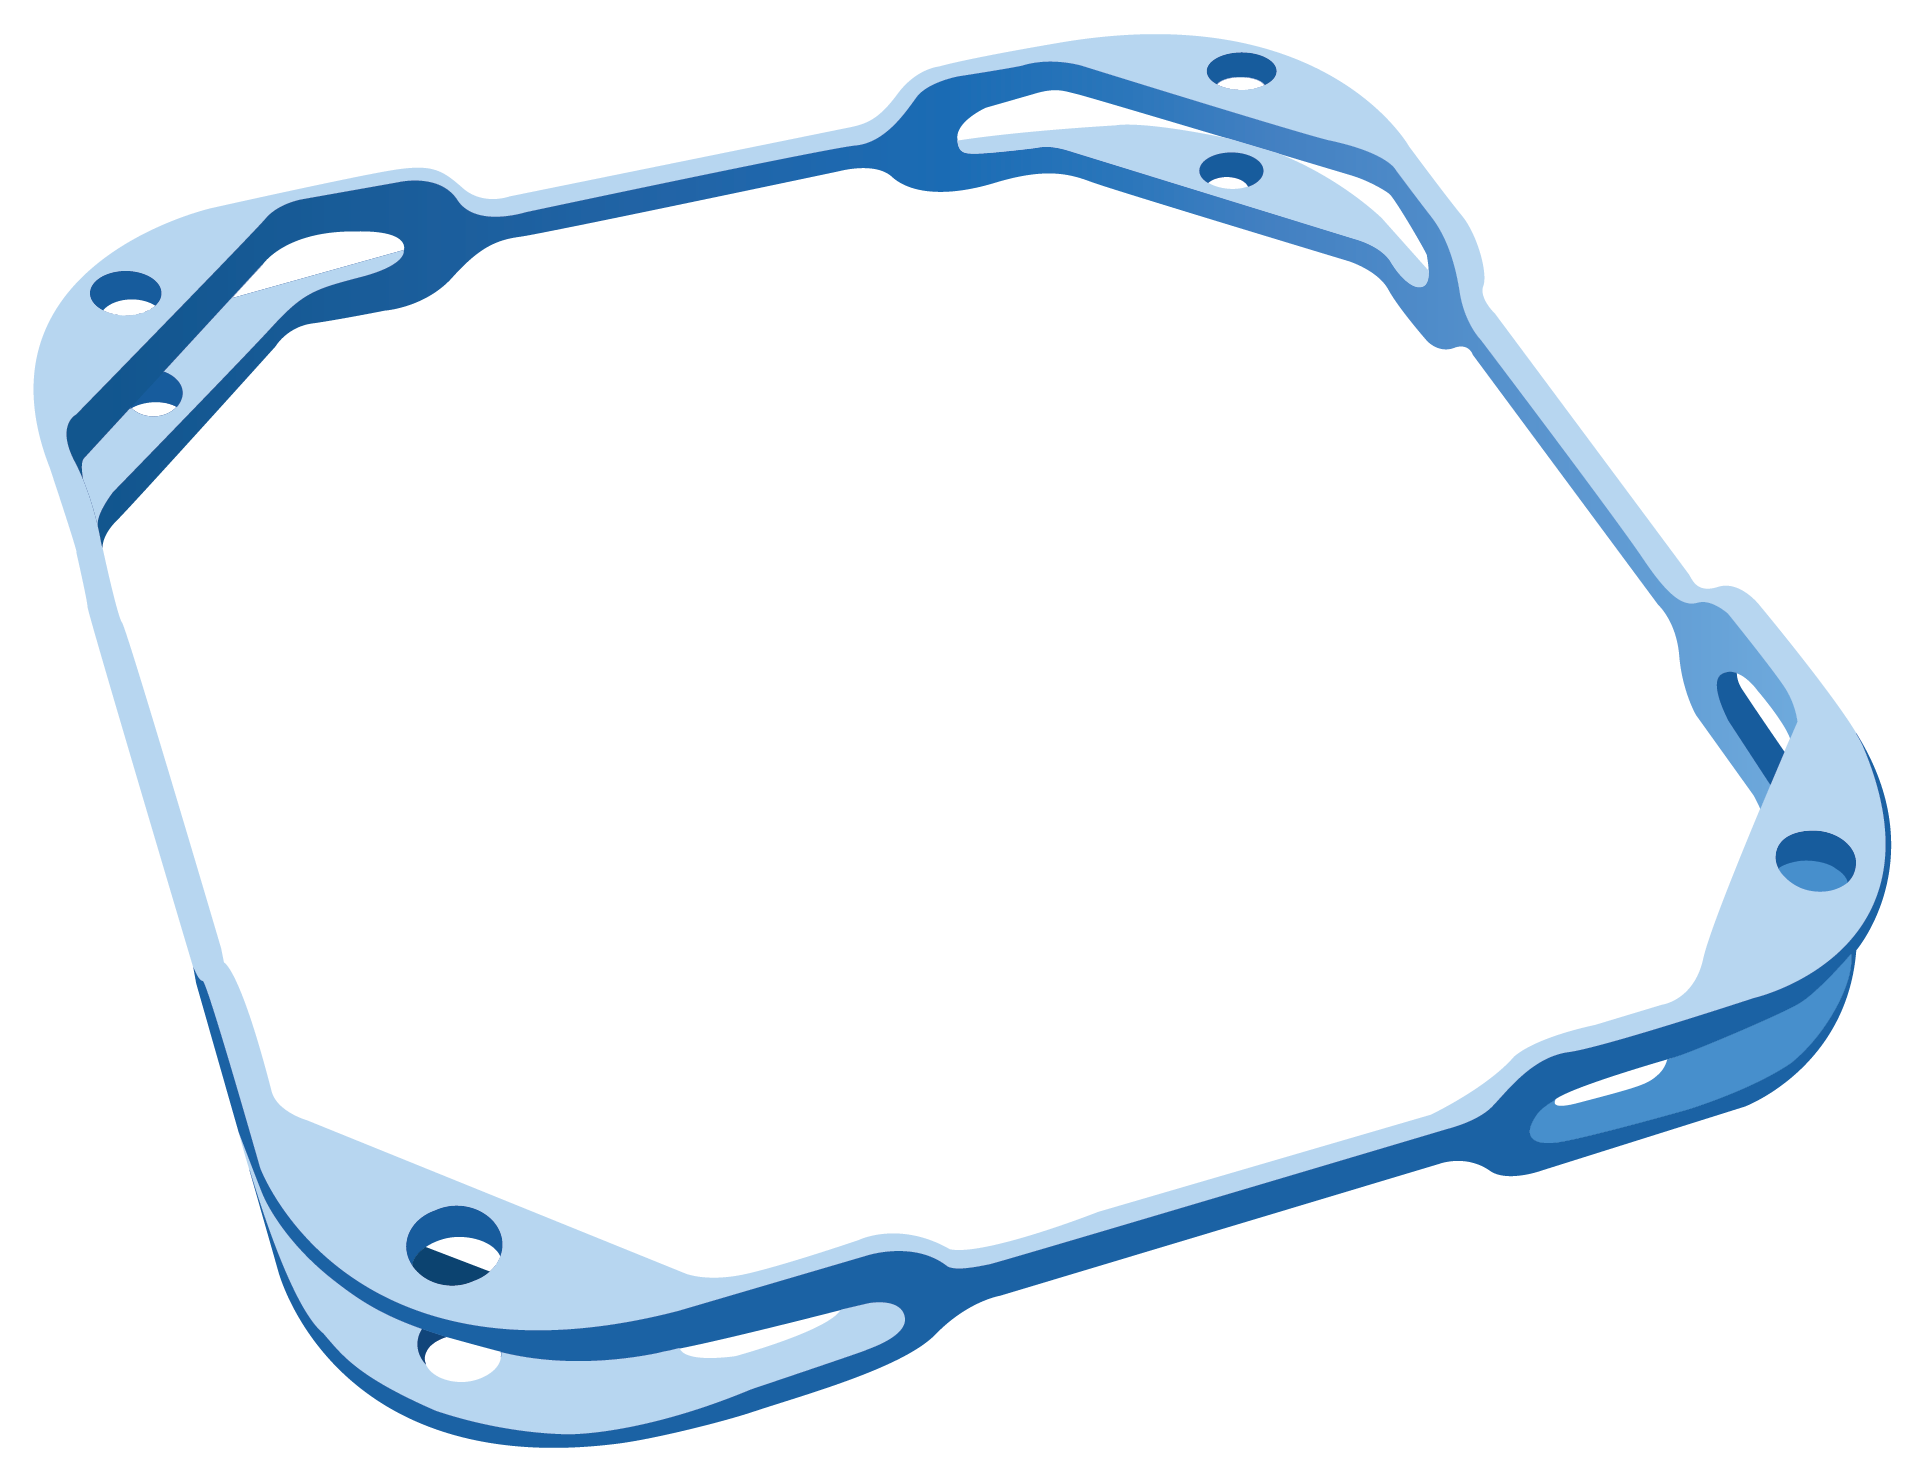
– Four pockets cradle delicate ocular tissue
– Packaged sterile with inserter
– Easy removal without potential tearing
– Single use
Step By Step Guide
Transferring The Iris Expander
IMPORTANT: During this process, be careful not to induce rigorous motion or drop the Iris Expander onto the sterile field.
1

Expose the OASIS Iris Expander by holding the packaging in the dominant hand. Peel back the Tyvek cover with the other hand to transfer to the sterile scrubbed assistant.
2

The scrubbed assistance can remove the Iris Expander from the packaging by grasping the Iris Expander with their dominant hand index finger and thumb at the neck of the inserter handle. Then, gently pull product out of the carton.
Loading the Iris Expander
IMPORTANT: Do not retract the slide button until after pre-folding the Iris Expander in Step 4.
3

Position the holder and inserter so that the word OASIS is facing up in dominant hand.
4

Prefold the Iris Expander within the holder by pulling the inserter down by its handle until its tip is between the two translucent dots on the holder. Once folded into position, then slide back the button until the Iris Expander is completely retracted into the inserter.
Placing the Iris Expander
5


After viscoelastic has filled the anterior chamber, advance the tip of the inserter tube into the anterior chamber. Move the slide button forward to push out and release the Iris Expander from the inserter onto the anterior surface of the iris.
6


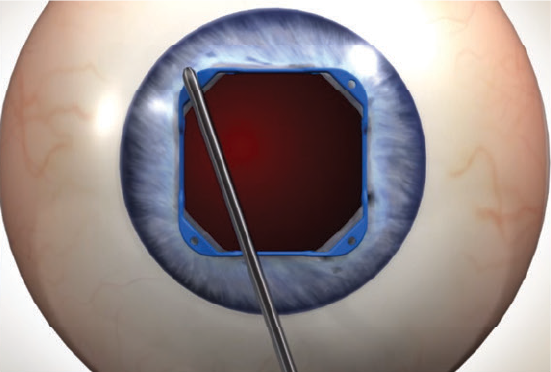
Use a Sinskey II or similar instrument to push the pocket into the pupillary space. Engage the iris margin in the pocket at each corner by placing one proximal pocket first using the positioning holes, then place the opposing distal pocket. Repeat with other proximal pocket and final distal pocket.
Removing the Iris Expander
7


Usea collar button, Kuglen or similar instrument to engage the middle of the proximal crossbar and push toward the center of the pupil to disengage both proximal corner pockets.
8


Place the same instrument underneath the proximal crossbar and pull the Iris Expander through the wound to remove and discard the Iris Expander.


